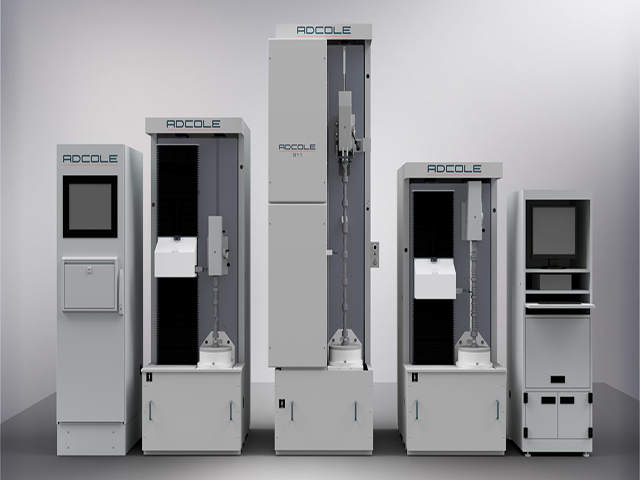
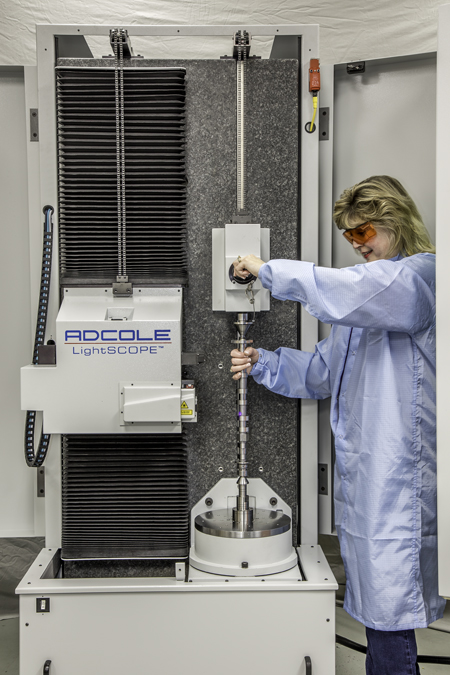
Recognized as the “gage of record” for the past 40 years, the Adcole Model 911 helps organizations improve part quality, reduce scrap, and increase manufacturing efficiency. Available in five configurations for every part capacity need: 609mm (24″), 914mm (36″), 1524mm (60″), 2286mm (90″), 2667mm (105″) part capacities. The versatile 911 gage is ready for use on the shop floor and the quality control lab.
The Model 911 is engineered to measuring features on:
- Axles
- Balance & Eccentric Shafts
- Camshafts & Sliding Camshafts
- Transmission Shafts
- Heavy Diesel Camshafts
- Pistons
- Precision Hydraulic Cylinders
- Other Precise Cylindrical Parts

One of the reasons why the Adcole 911 gage has enjoyed such longevity is because of the gage’s world-class accuracy specifications. The gage boasts a radial accuracy of ± 0.5 µm, radial resolutions of 0.016 μm, and an angular resolution of 0.00001°. The gage provides 3,600 data points per every 1/10 of a degree, and can measure a 4 -cylinder camshaft in an average of just 4 minutes.
In addition to accuracy, the Adcole 911 gage respects today’s manufacturing need for a compact gage footprint. The 911 base gage dimensions are height of 2000mm – 3940mm (78.74 – 155.11″), width of 1072mm (42.20″), and depth of 1180mm (46.45″). Other gage specifications like a vertical axis of rotation, radial follower travel of 120mm- 155mm (4.72 – 6.10″), a swing diameter of 190mm – 311mm (7.5- 12.25″), and the ability to measure parts weighing up to 341 kg (750 lb.) make the Adcole 911 gage a popular metrology solution.
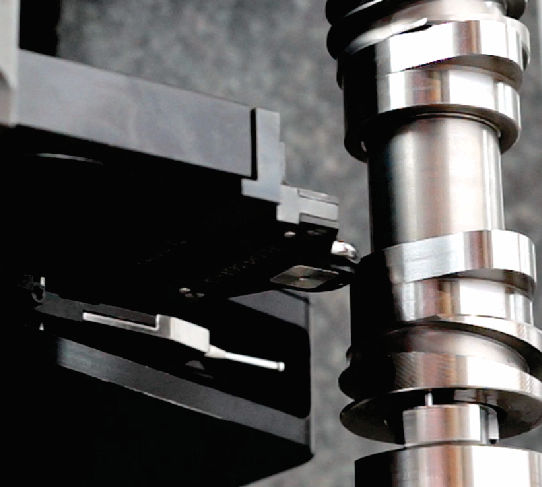
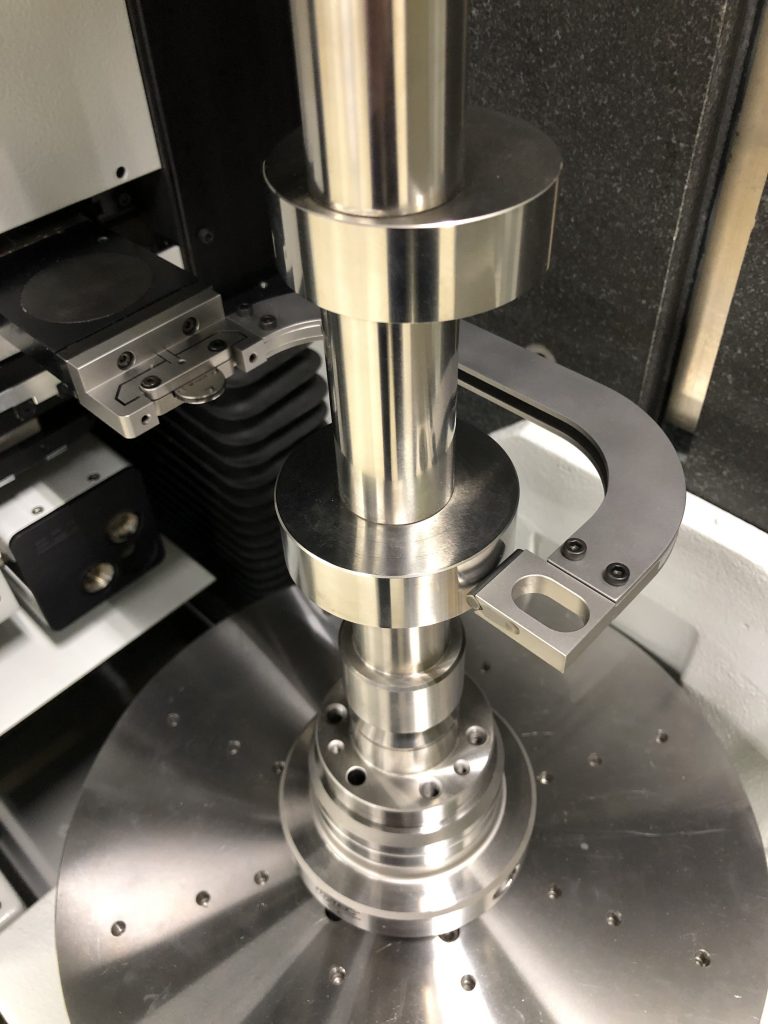
The 911 gage is available with several options. First, Adcole offers a high-speed upgrade kit. An optional overhead light stack is available to monitor gage status, and includes a Go/No-Go that provides information about the pass/fail of a part. A proprietary optical measurement system, the LightSCOPE™ solution, provides fast, efficient measurement data. Lastly, the DiaMetric™ follower system enables advanced manufacturers to obtain 5 times greater accuracy, achieving submicron performance levels of ± .2 μm when measuring diameters on their existing Adcole 911 gage.
The Adcole 911 supports the following parameters:
- Angularity
- Center Deviation (hourglass/barrel)
- Chatter
- Concentricity
- Cylindricity
- Diameter (LSC, 2-Point Max/Min)
- FFT Chatter
- Flatness
- Lobing
- Lobe Angle
- Lobe Lift
- Lobe Velocity
- Length
- Parallelism
- Perpendicularity
- Profile
- Roundness (Circularity)
- Runout
- Taper
- True Position
- Straightness
The Adcole 911 is called the “gage of record” because of the benefits that the solution offers advanced manufacturers. The gage provides fast cycle times and rapid part evaluation, and reduces labor and material costs with superior gage accuracy and reliability. The gage eliminates operator error with one button testing, concise pass/fail inspection reports, and more. It can measure multiple part types and complex geometries, plus the gage provides numerical and graphical representation of complex metrology data. The Adcole 911 automated metrology gage solution enables manufacturers to measure part types using a flexible gage platform.
To learn more about the Model 911, gage, check the gage out here.

