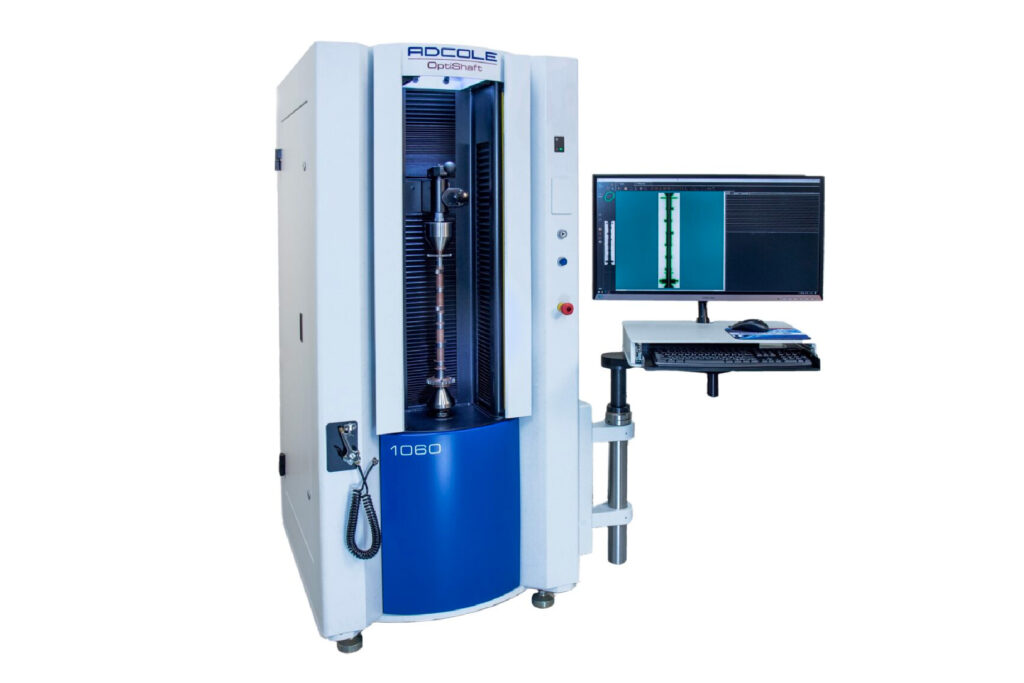
Organizations manufacturing complex assemblies like axles, camshafts and crankshafts often struggle to source a cost-effective, flexible measurement solution that can rapidly and accurately measure rotating parts. Designed to measure a broad range of part lengths and configurations, the rugged 1100-GX gage offers the latest in motion control, signal processing and linear encoder technologies.
The newly redesigned gage is economical, fast, and offers extremely precise accuracy specifications: 0.016 μm radial resolution, a headstock runout of <0.1 μm, ± 0.5 μm system radial accuracy, ± 0.2 μm follower encoder accuracy, ± 2.0 μm/100mm axial accuracy, and 0.00001° angular resolution.
The economy-minded gage is also capable of measuring a wide range of part sizes and weights. The 1100-GX is equipped to handle part length maximums of 1000mm (39.37”) on the 1100-GX 1 meter, and 1500 mm (59.06”) on the 1100-GX 1.5 meter. The gage enables a swing diameter of 300 mm (11.81”), a part weight maximum of 340 kg (750 lb.). The gage enables rapid scanning times, too, with a carriage speed of 2286 mm/min (90”/min), and a headstock rotation speed maximum of 30 rpm.
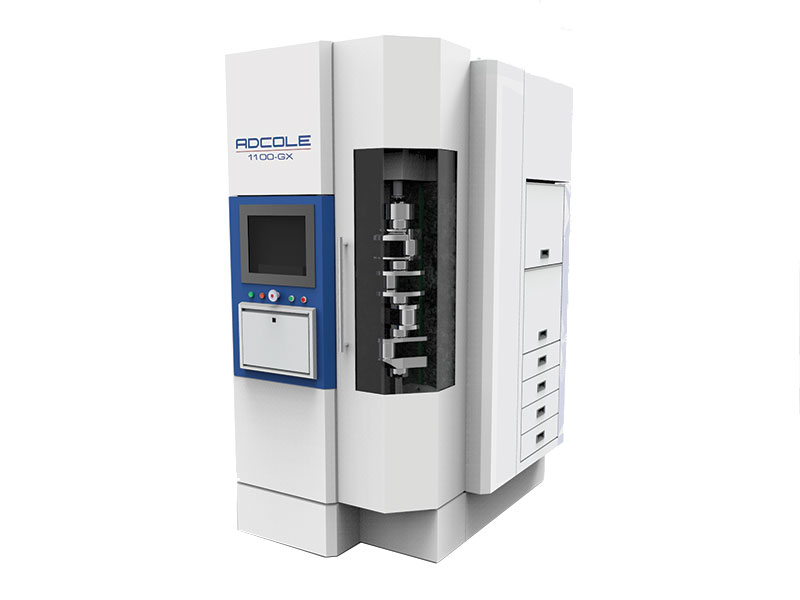
Some of the benefits of the 1100-GX gage includes NextGen software that allows users to scale and annotate output report plots for better process control. Adcole Corporation’s in-house 3D Color Map and Program Builder data analysis software provides reporting, including part summary, part programming, inspection packages, dimensions, calculated values for elements. Lastly, the gage is offered in sizes ranges to fit part lengths of up to 1500mm — enabling quality control of large camshaft and crankshaft assemblies.
The rich data set that the 1100-GX gage can provide manufacturers includes these measurement parameters:
- 지름
- 길이
- 프로필
- 직진성
- 원형도(원형)
- 각도
- 런아웃
- 동심도
- 평탄도
- 원통형
- 수직성
- 병렬 처리
- 실제 위치
- Chatter
- 테이퍼
- 중심 편차
- 던지기/스트로크
- 캠 로브 리프트 오류
The 1100-GX is engineered with features that manufacturers demand from state-of-the-art metrology equipment. The gage is designed with a smaller footprint that saves valuable production floor space. The dual custom Heidenhain linear encoders enable automatic yaw correction to provide superior accuracy and repeatability. The ball bearing spindle is exceptionally durable, providing a best-of-breed standard of accuracy and design integrity. The gage features brushless and linear slide motors that supply more speed and torque, reduce friction, and improve measurement accuracy. In addition, the gage is offered with and optional enclosed measuring chamber with an interlocking, easy-swing door that ensures clean gage measurement environment. This option includes a go/No-Go LED indicator that shows the pass or fail of a measured part.
To learn more about the 1100-GX gage, check the gage out here.


