Overview

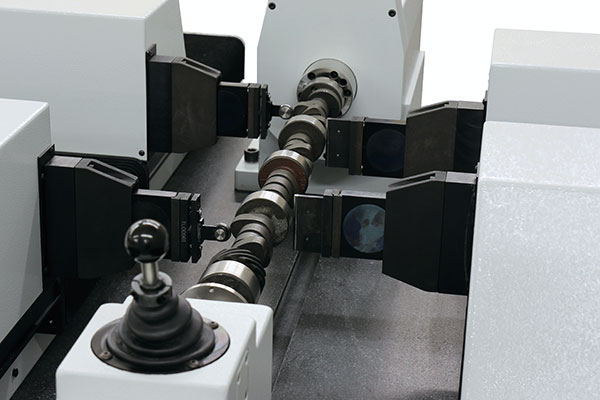
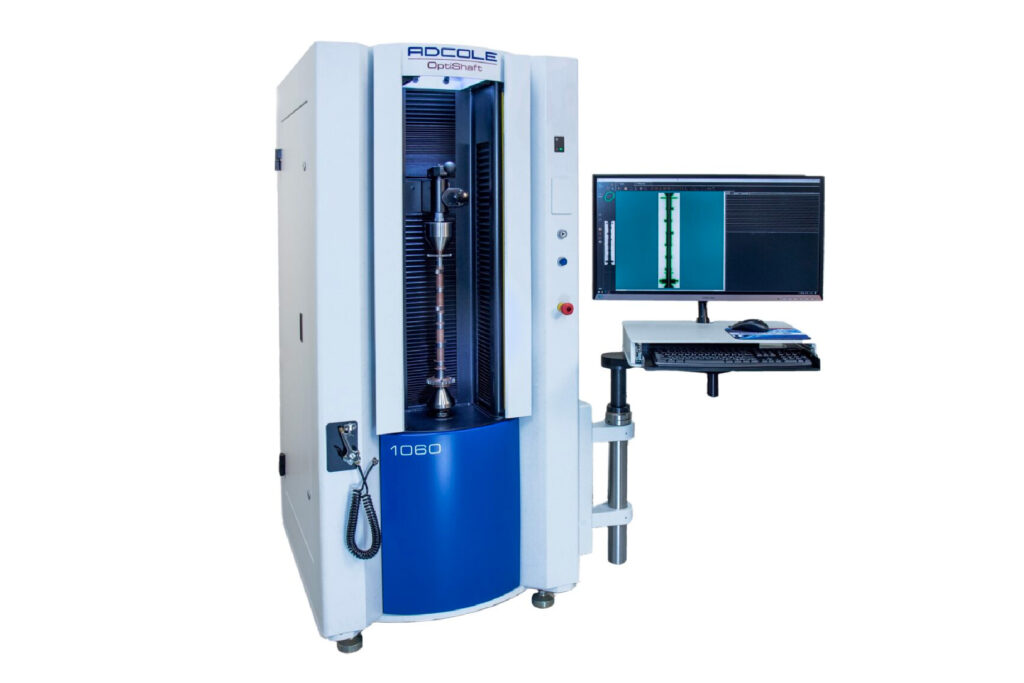
Adcole’s Surface Roughness Measurement and Analysis Software establishes surface roughness on camshafts, crankshafts and many other cylindrical or near-cylindrical parts, available for the 1000 and 1000-Z gages.

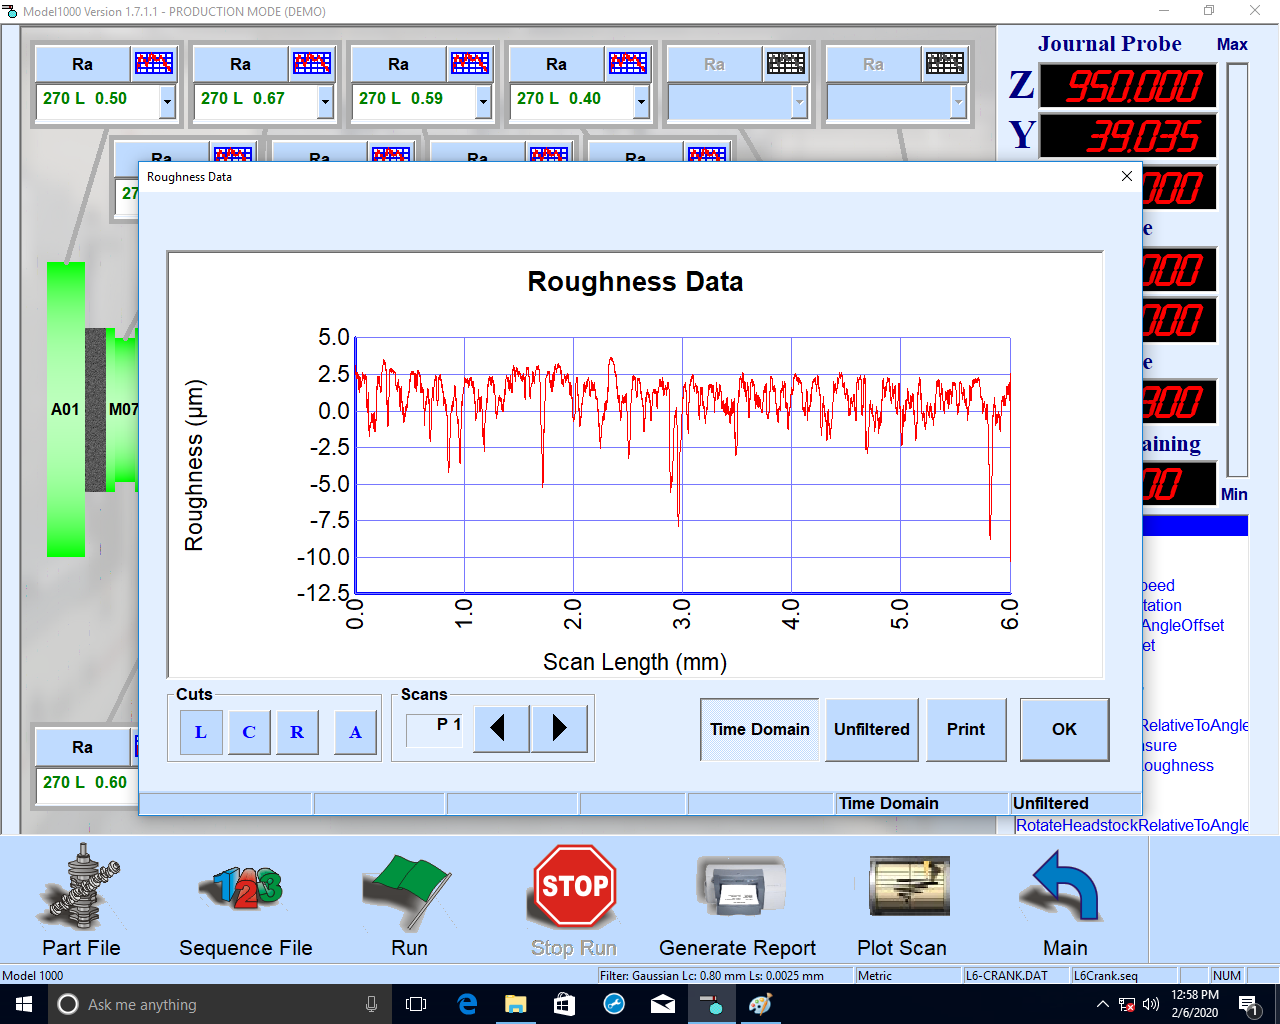
As today’s lubricants are getting thinner and bearing clearances are getting smaller, surface roughness is playing an increasingly critical role for advanced manufacturers. In addition to measuring and reporting standard surface roughness parameters, Adcole’s software flags out-of-tolerance measurements and yellow warning zones, and provides fully programmable reports (paper or pdf). With zoomable surface roughness charts, FFT graphs and bearing area curves, Surface Roughness Software delivers additional analysis and deeper insights about surface measurement data.

Download the Surface Roughness & Analysis Software Data Sheet 

Surface Roughness Measurement Software Adcole
Industries
  • Aerospace
  • Automotive
  • Heavy Diesel Equipment
  • Industrial
  • Locomotive Engine & Rail
  • Marine
  • Power Generation
  • Pumps
  • Robotics
  • Small Engine & Appliances
  • Transportation/Trucking
Compatible Gages
  • 1000
  • 1000-Z
Adcole Components
Components It Measures
  • Balance Shafts
  • Camshafts
  • Crankshafts
  • Eccentric Shafts
  • Gears & Transmission Shafts
  • Precision Hydraulic Cylinders
  • Pump Lobes / Pump Shafts
  • Robotic Shafts & Cylinders
  • Sliding Camshafts
Features Measured
Features It Measures
  • Bearing Journal
  • Crankgear
  • Crankpin Journal
  • Crank Pump
  • Camshaft Journal
  • Camshaft Lobe
  • Face Perpendicularity
  • Face Runout/Total Runout
  • Journal Undercut Depth
  • Journal Undercut Radius
  • Post Slope
  • Timing Flat
  • Timing Notch
  • Timing Pin
  • Trigger Wheel Angles
Adcole Parameters
Parameters It Measures
  • MR1
  • MR2
  • Ra
  • Rdc – Htps
  • Rmr – Tp
  • Rp
  • Rp / Rt
  • Rpm
  • Rpm – Rz
  • Rpk
  • Rsk
  • Rt
  • Rtm – Rz (DIN)
  • Rvk
  • R3z
  • Rz (JIS)
  • Rz – Rmax
Adcole's Surface Roughness Measurement and Analysis software establishes surface roughness on camshafts, crankshafts and many other cylindrical or near-cylindrical parts, available for the 1000 and 1000-Z gages.
Features & Benefits
  • Offers surface roughness analysis data that meets ISO 4287 and ASME B46.1 Geometrical Product Specifications (GPS)
  • Ability to selectively re-measure out-of-spec sections of the part
  • Enables integration with SPC software such as Q-DAS®
  • Provides adjustable scan length and data density (2 kHz, 2000 samples/mm or more)
  • Permits programmable reports (paper or pdf), and flags out-of-tolerance measurements and yellow warning zones
  • Features easy-to-use wizard-driven add-on utility programs to develop inspection sequences and output reports
  • Delivers zoomable surface roughness charts, Fast Fourier Transform (FFT) graphs and Bearing Area curves which provide additional analysis and deeper insight into the surface roughness data
  • Offers a fully integrated part quality and traceability system solution — including the Ford Motor Company’s QLS-CM — with a fully automated, push-of-a-button inspection based on the part’s “birth” history
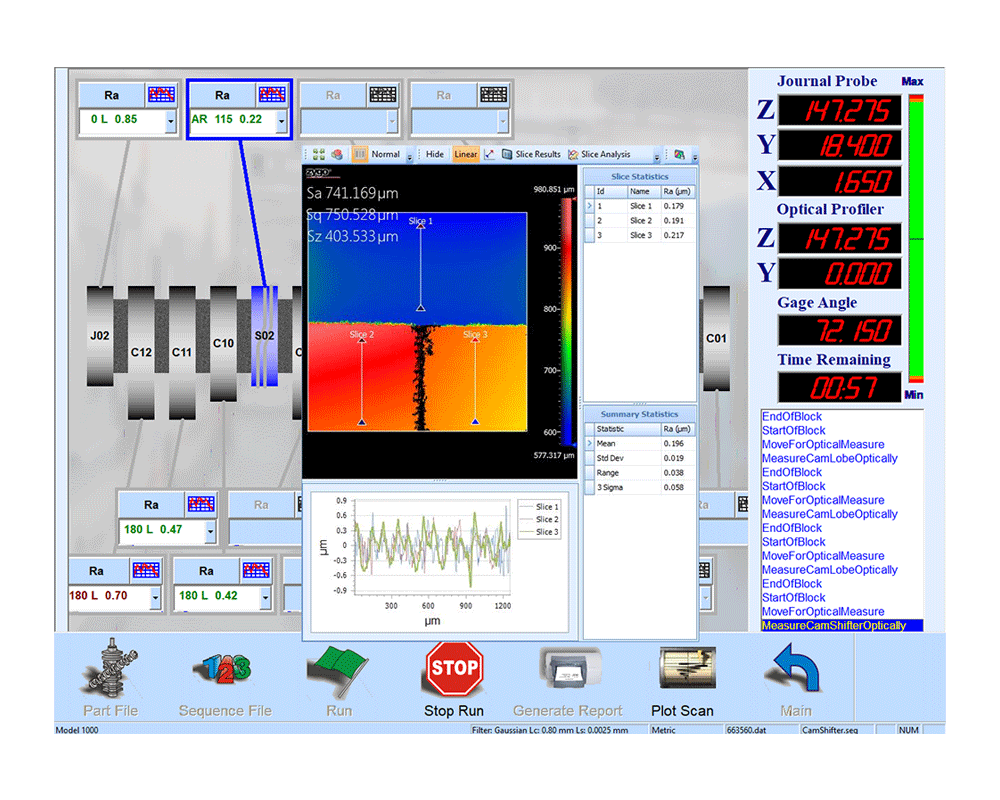
  • Provides an intuitive user interface with a snapshot of the ongoing inspection in real time, including:
    • Part geometry is displayed on the screen
    • Roughness parameters are shown in callout boxes
    • Color of the numerical values indicate go (green)/no go (red) or no tolerance (black)
    • Journal being measured is highlighted with animated part rotation
  • Enables users to store raw data from inspections, allowing the entire inspection process to be played back to troubleshoot part quality issues
  • Provides strong security by communicating with the PLC and the motion control system on a private TCP/IP network via a dedicated network interface card (NIC)
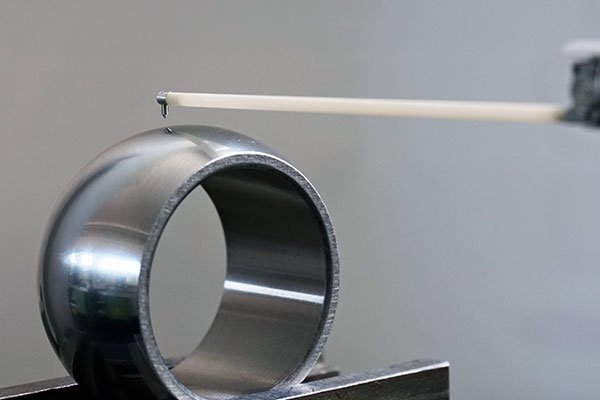
  • Supports automatic bar code scanners, tactile stylus probes, and white light optical scanners, including:
    • Cognex® Dataman® 7500/8500 bar code scanners
    • Taylor Hobson® tactile stylus probes Zygo® optical 3-D white light interferometry sensors
S A L E S

sales@adcole.com

S E R V I C E

service@adcole.com

G E N E R A L

info@adcole.com

C A L L

508 485 9100